I haven't share this with the blog world yet but we are in the middle of selling or home and buying a new one! If any of you have ever done this you know how much work it is! The fun part is thinking about the new space you will live in and getting the kids involved! My kids have come up with the color schemes for their room. Of course, my little girl wants everything PINK and my big boy wants black, grey, and white with a little red!
The other day my son showed me this drawing he did of an "electric eel snake" and I immediately got this idea to use their drawings as art in their room! It would make it more personal AND match the color scheme!
Here is how we did it!
First think of something fun that your child will love on their wall as art.
You can also go through old drawings that you saved.
My daughter wanted to draw a fairy!
I showed her how to draw fairy wings and she drew her first picture of a fairy ALL BY HERSELF!
After you have a fun drawing you love, you will have to buy and prepare your canvas!
We taped a design on the canvas with masking tape.
Then I had my kids paint whatever they wanted on the canvas in the color choice to match their room!
Here is Brenden's painting before and after the tape was pulled off!
The tape lines break up the blending of colors in the background and give it a fun look!
You don't have to do the tape lines if you don't want to but your kids will think it's fun!
Here is Kiki's pink and white painting before pulling off the tape,
And what it looks like pulling the tape up.
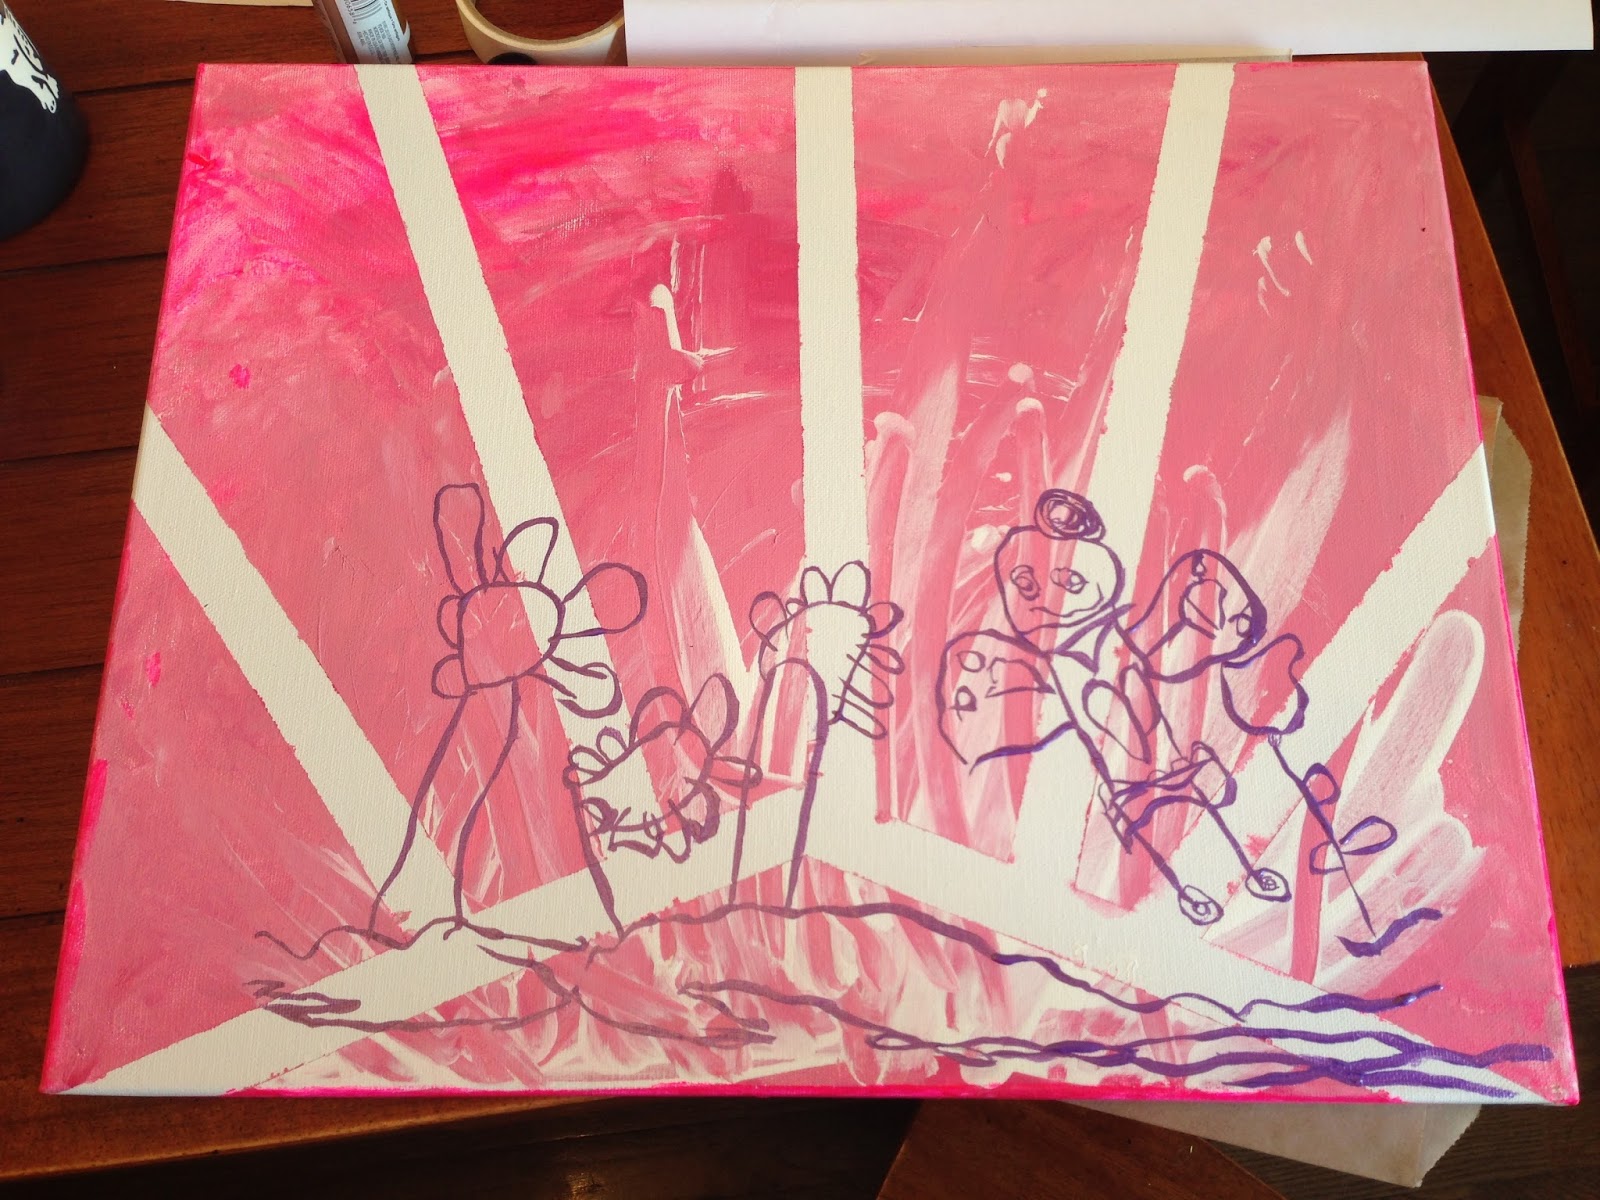
Here it is after the tape is all off! We made sort of a sun design with the tape on her picture!
Next step is to take your child's drawing to the copy machine. I blew up both of their drawing on 11X17 paper for their 16X20 canvas. Sometimes you will have to piece the drawing together when blowing it up!
Here are the original drawings along with the xerox copy of blowing them up over 200 percent!
Once you have your child's drawing blown up to the right size, turn the paper over and color with a pencil or charcoal pencil making sure you cover over all the lines in their drawing on the other side!
Then, turn the paper over and tape it down where you want it on the canvas. With a pencil, trace over the whole drawing. The pencil on the back of the paper will transfer it right to the canvas!
You can see how light it is when transferred.... I used pencil to do mine. I will say charcoal shows up darker! In some places you might have to use your enlarged copy to help you in the next step, which is painting!
I used purple paint to go over the lines of Kiki's drawing and here is what it looks like transferred to the canvas!
To finish them both off, I had them sign their names or initials at the bottom and I put the year!
Here are the finished pieces of art! My kids are so proud of their paintings and they are ready to add charm in their new rooms in a couple of weeks!